
No more typing in Passwords
When using Keepass to keep track of your passwords, you; not only, never have to type them into a browser again; but, you also will be much, much safer. Keepass sends your user name and passwords to the respective fields in encrypted format.
“In-Memory Passwords Protection: Your passwords are encrypted while KeePass is running, so even when the operating system caches the KeePass process to disk, this wouldn’t reveal your passwords anyway.” – – KeePass Features page
To download KeePass navigate to the download page or get it from ninite.com. The screenshots in this post are based on the professional edition, version 2.35.
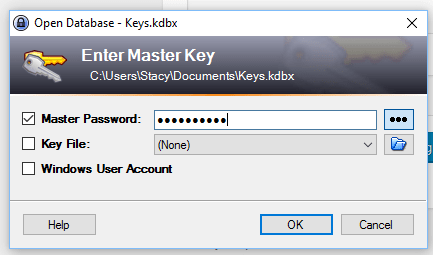
To open your keepass .kdbx file, you enter the password in, and then click OK
There is a really awesome help site – – http://keepass.info/help/base/index.html
After you create a few entries, your keepass will look something like this when you open it

- To create a new entry, you click the key icon, enter in the user name, password you use, and site url
- To navigate to a site you click the globe
- To send your username and password, in encrypted format, to the site you click the icon under number 3
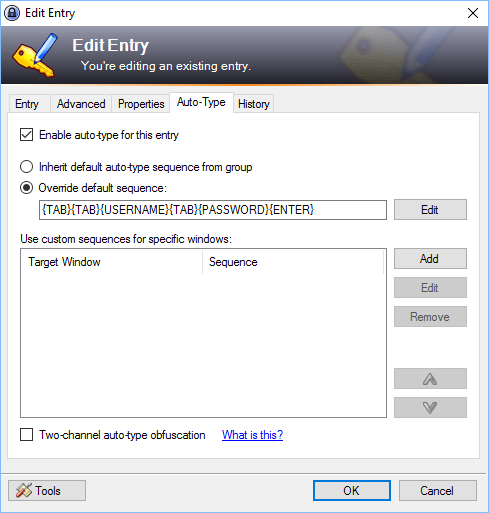
Sometimes, a website will not comply with the default settings for entering the user name and password. If the keepass does not work after you enter your username and password and the url, you’ll need to change the default behavior of the auto-type. In the below example, I had to tab twice after the page load in order to get to the user name field. One way to test this behavior, create the new entry, add your username and password for the site, and the site URL. Then try it. If you are not able to get in, then open the site manually and attempt to tab once to the user name. If your cursor does not land in the user name field, keep counting how many times you have to tab, and then adjust accordingly. This example below required two tabs.
Use it to automate server logins
If you bought my book, and even if you didn’t, you can use keepass to store your passwords for user accounts used in logging into your servers. When using keepass to login to servers there is a two step process. Step one, create the rdp file, step two create the shortcut within keepass. We’ll cover both of these steps now.
Step 1
Open a run bar, type mstsc.exe and press enter. Enter in either the name of your server or it’s IP, depending on how you’ve configured your network. Note: You might need to adjust your hosts file if you are using a virtual machine name. Input the user name and the server name.

Click on show options and then click on save as , now give the file a nice name that somehow relates to the machine it is for.
Step 2
Now all you need to do is create the Keepass entry to open your virtual machine.
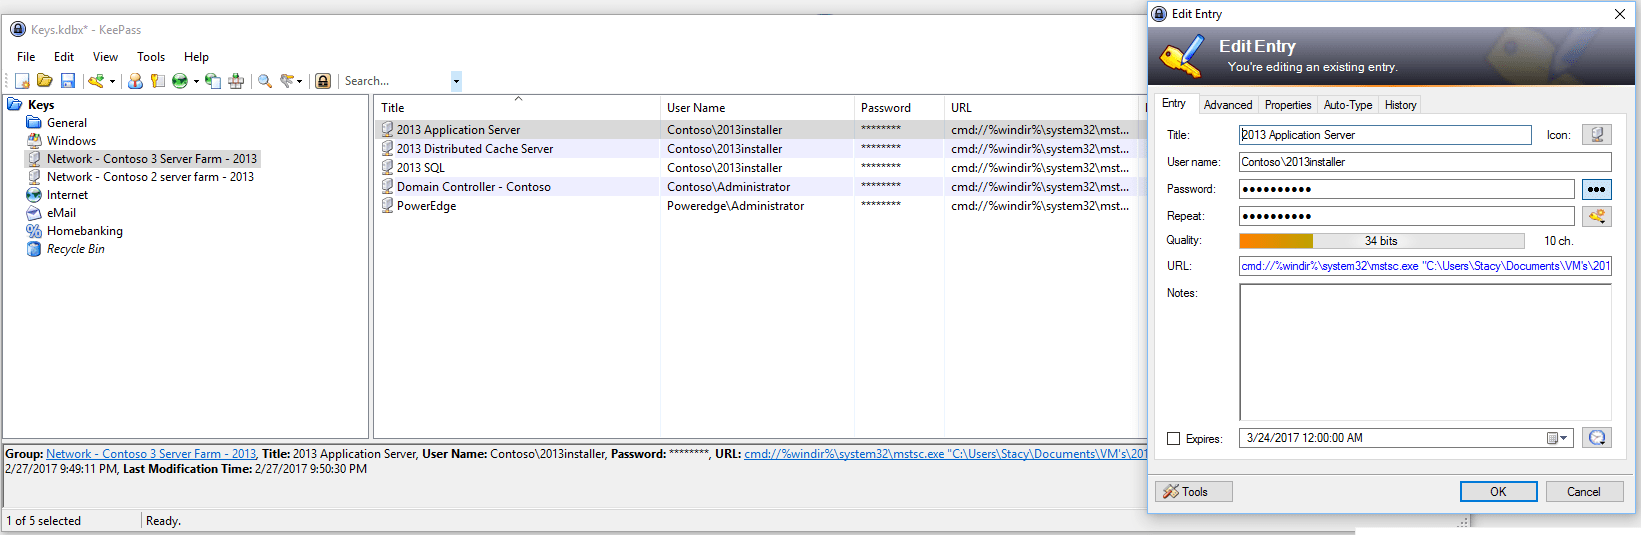
The key is the user name, password, and URL.
The URL is a string of text that references the rdp file that you just created. e.g. cmd://%windir%\system32\mstsc.exe “C:\Users\Stacy\Documents\VM’s\2013\Farm A\Contoso-2013appw2k12.rdp”
the first part of the string calls the mstsc.exe, Microsoft Server Terminal Services Client executable and the second section calls the rdp file.
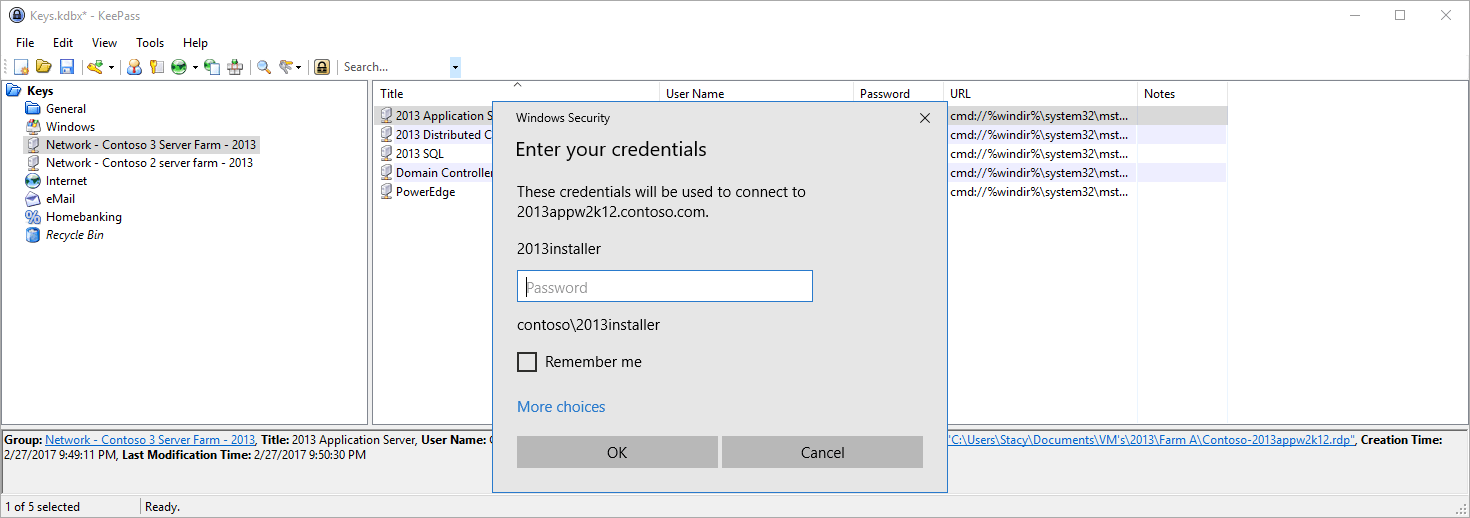
to open your server, you click the globe and then enter in the password the same way you did for the web site.
you enter the password when this screen appears.

You must be logged in to post a comment.