Have you ever ran into the problem where your Hyper-V machines were taking up too much space on your C:\ Drive (or any drive for that matter)? If you said yes, maybe, or even no, well then this post might be for you.
You can move the virtual machine’s disks, or all of the machine’s files to a different location in a few simple steps.
Open Hyper-V Manager as an administrator
Select the machine you want to move (Note: they’ll move powered on, but they move much faster if powered off – and same is true in VMware)
After you select the machine click “Move” from the right hand menu, or right click on the machine and then select “Move” from the menu.
Click “Next” on the “Choose Move Type” Screen.
Choose the option that you want for moving the storage. You can choose to move all of the machines data, which includes the disks and all other files, to the same place. Or, you could choose to move the storage to one location and the other files to another location. And finally, you could opt to only move the virtual hard disks. After you’ve made your selection, click “Next”
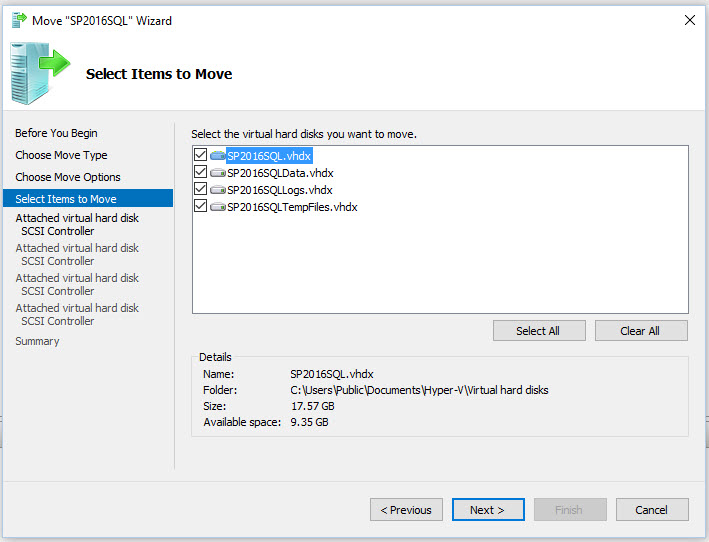
You can opt to only move some of the machines hard disks (assuming it had more than one). As you can see this machine only had one hard drive. After you’ve selected the hard disks you want to move, click “Next”.
Some machines have more than one virtual disk though. It’s a good idea to keep them on the same storage for performance.
Browse, to the new folder where you want them to me moved into and then click “Next”.
Review the steps you’re about to complete and then click “Finish” to kick off the move.
Hyper-V will inform you that the move has started
You can monitor the overall status from within the Hyper-V Manager, as the move occurs.


You must be logged in to post a comment.