
Another great tool
From the creators of SPDocKit, comes one of the best SharePoint security management tools yet to hit the market, SysKit Security Manager for SharePoint. And, like all SysKit products, it works with all SharePoint versions!
All of the images in this post are clickable and will enlarge to show better detail.
Installation
Installation is essentially a nexting process. Security Manager requires a SQL instance. During our testing we used the same SQL server instance that SysKit Insights was installed into and installed Security Manager on the SQL server that was serving that instance. After downloading the executable, all we had to do to get up and running was double click the executable and click next. The first thing that happens is Security Manager checks for the presence of Microsoft .NET Framework 4.5.2 or higher and then attempts to download the executable. Here are a couple of screenshots from the install showing SysKit Security Manager downloading the .NET 4.5.2

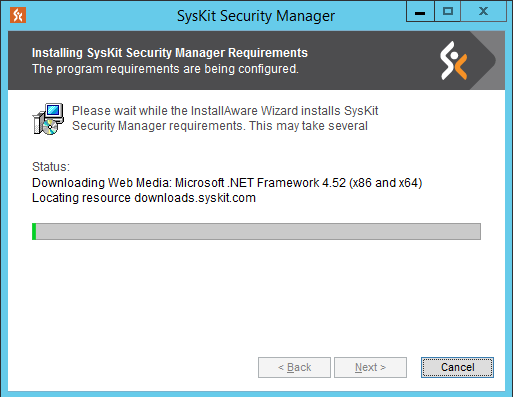
Here’s a link to the download, in case your computer that you’re installing Security Manager does not have the .NET 4.5.2 or higher.
https://www.microsoft.com/en-us/download/details.aspx?id=42642
If your server want’s a restart after installing the .NET Framework 4.5.2 go ahead and restart, then just doubleclick the executable to install Security manager, if you’re working in a hardened environment that will not allow the server to download from the internet.
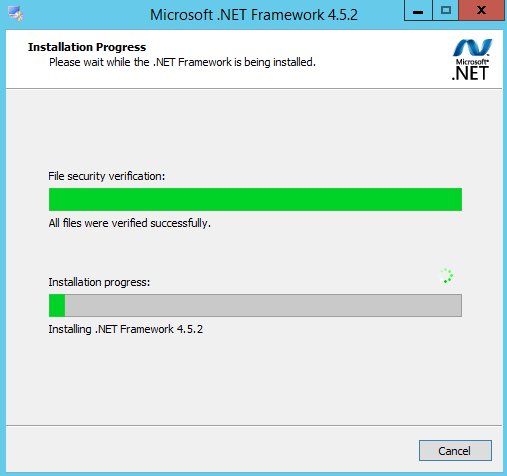
When the .NET framework is installed manually, you have to affirm it, as well. Eventually, it looks like this and you just wait for it to finish.
 Click image to enlarge
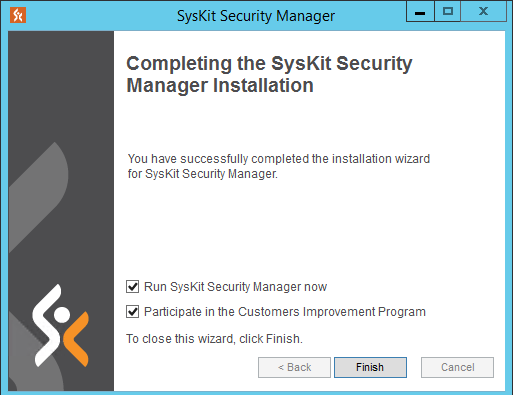
Once the .NET version is correct and you have restarted your server. Log back in and double click the installer once more and from this point forward, just click Next through until Security Manager is fully installed and you’re able to click on Finish, as shown here:
 Click image to enlarge
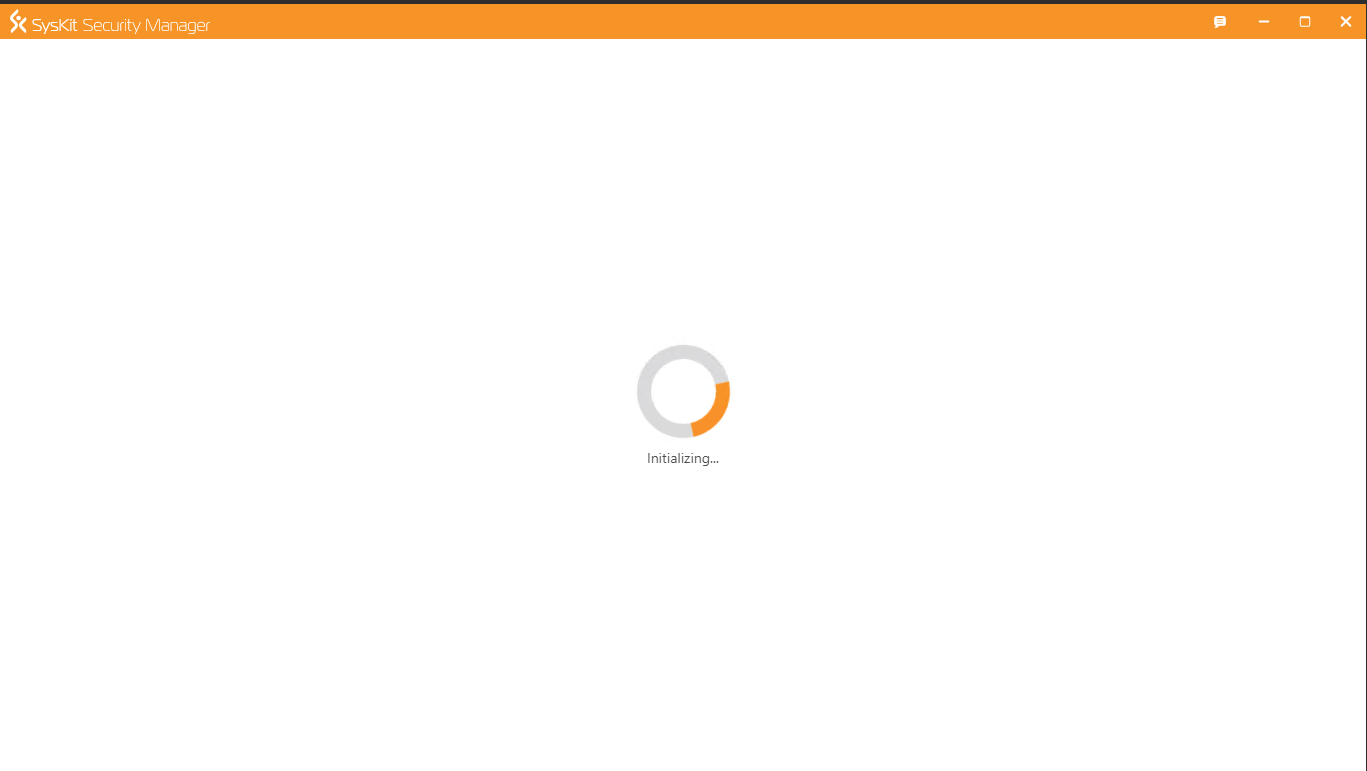
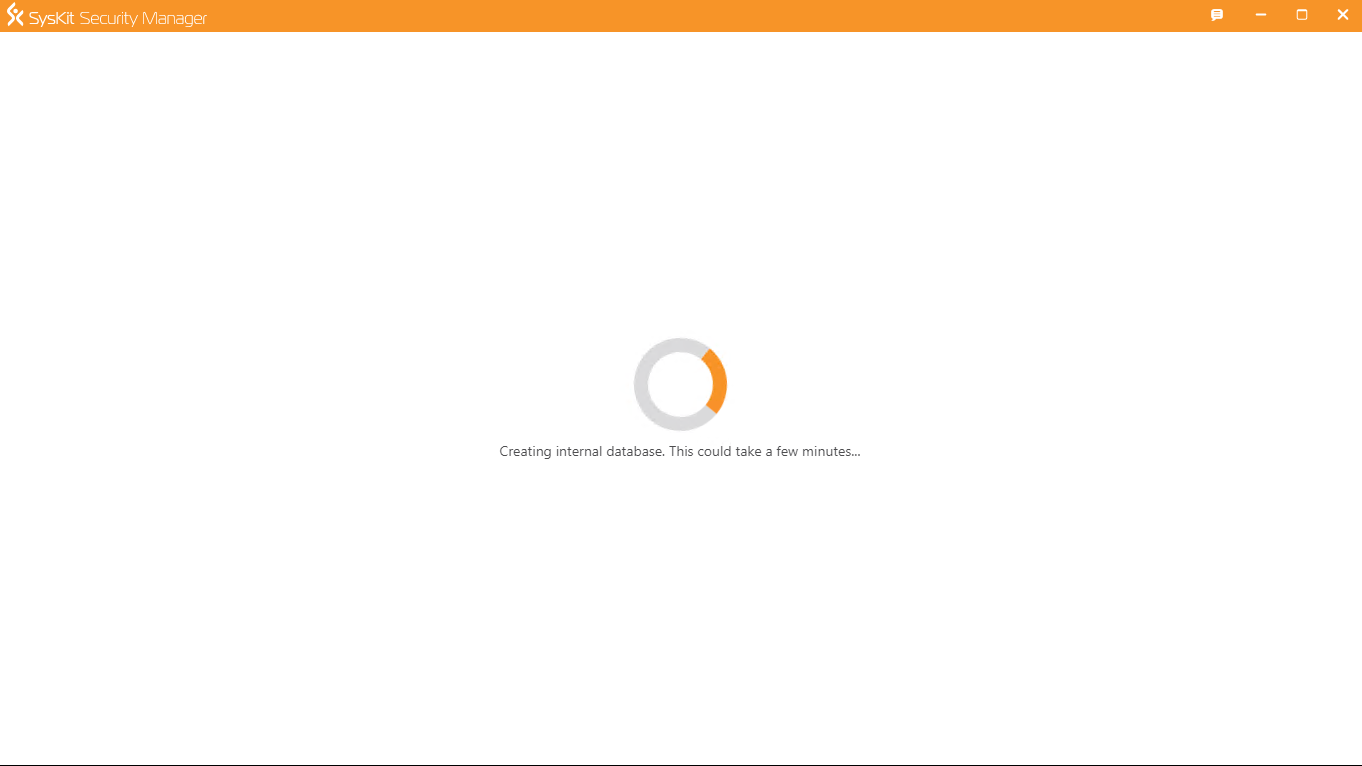
After clicking on Finish, Security Manager will start up for it’s inaugural run on your server or workstation and you will see it say initializing.
 Click image to enlarge
After Security manager initializes, it will tell you that it is creating the internal database,,
 Click image to enlarge
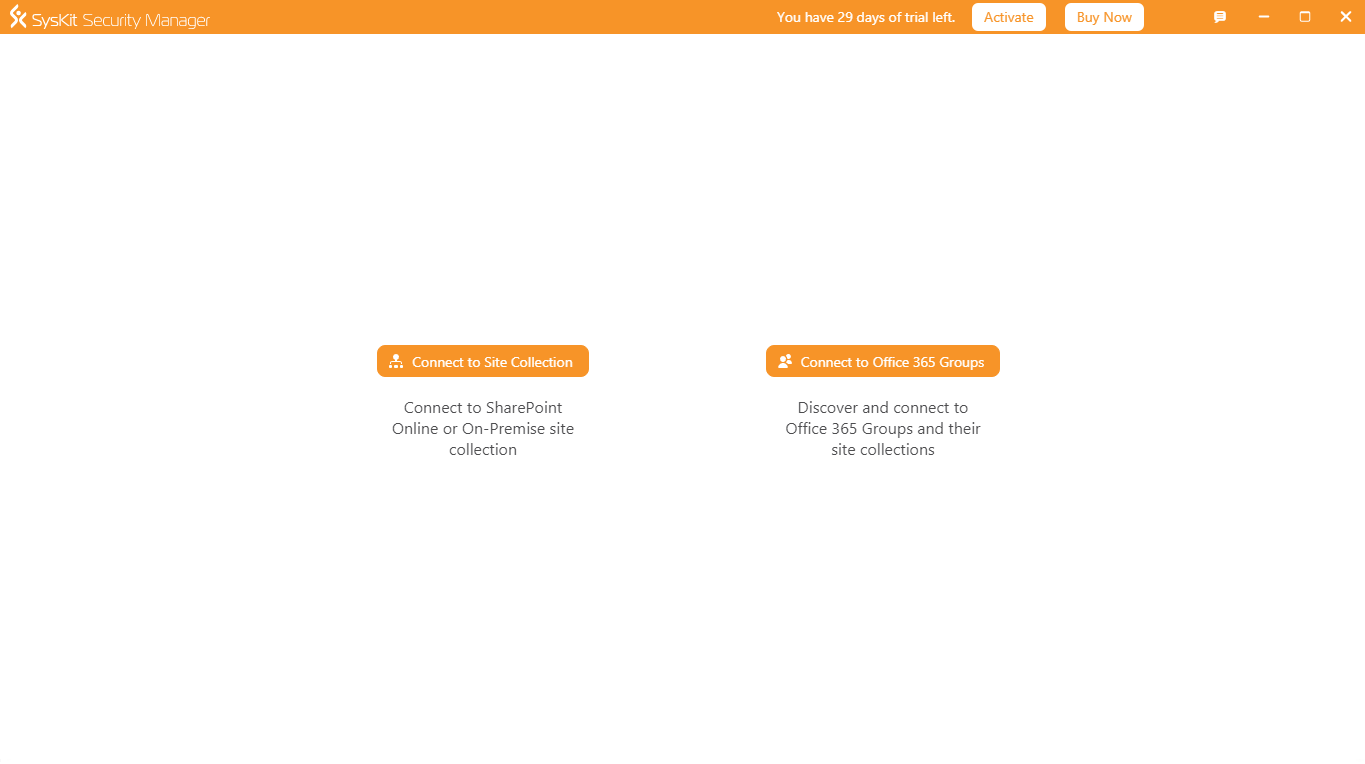
At this point, after the database is created, you will be presented with a choice to connect to a SharePoint Online or On premise Site collection, or to connect to Office 365.
 Click image to enlarge
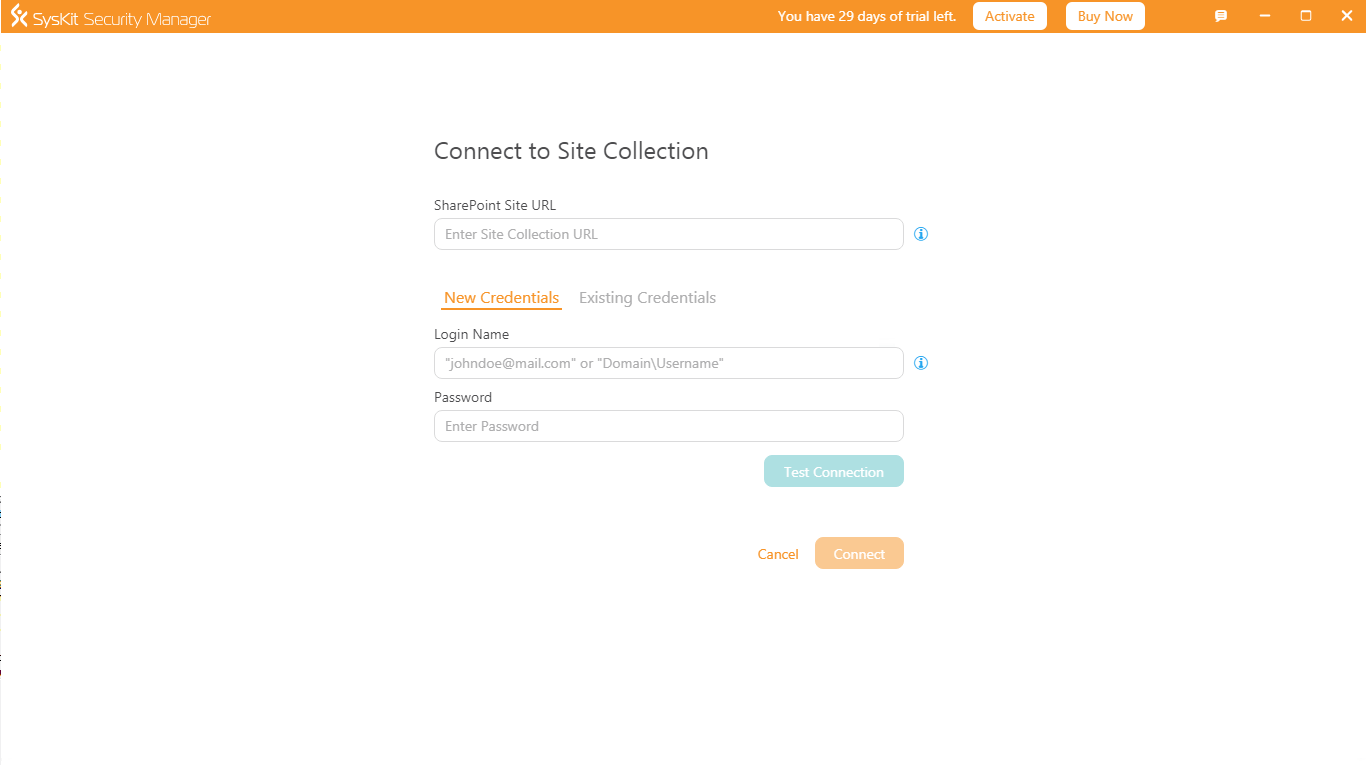
Just provide an account that has site collection admin or higher privileges to the site collection
 Click image to enlarge
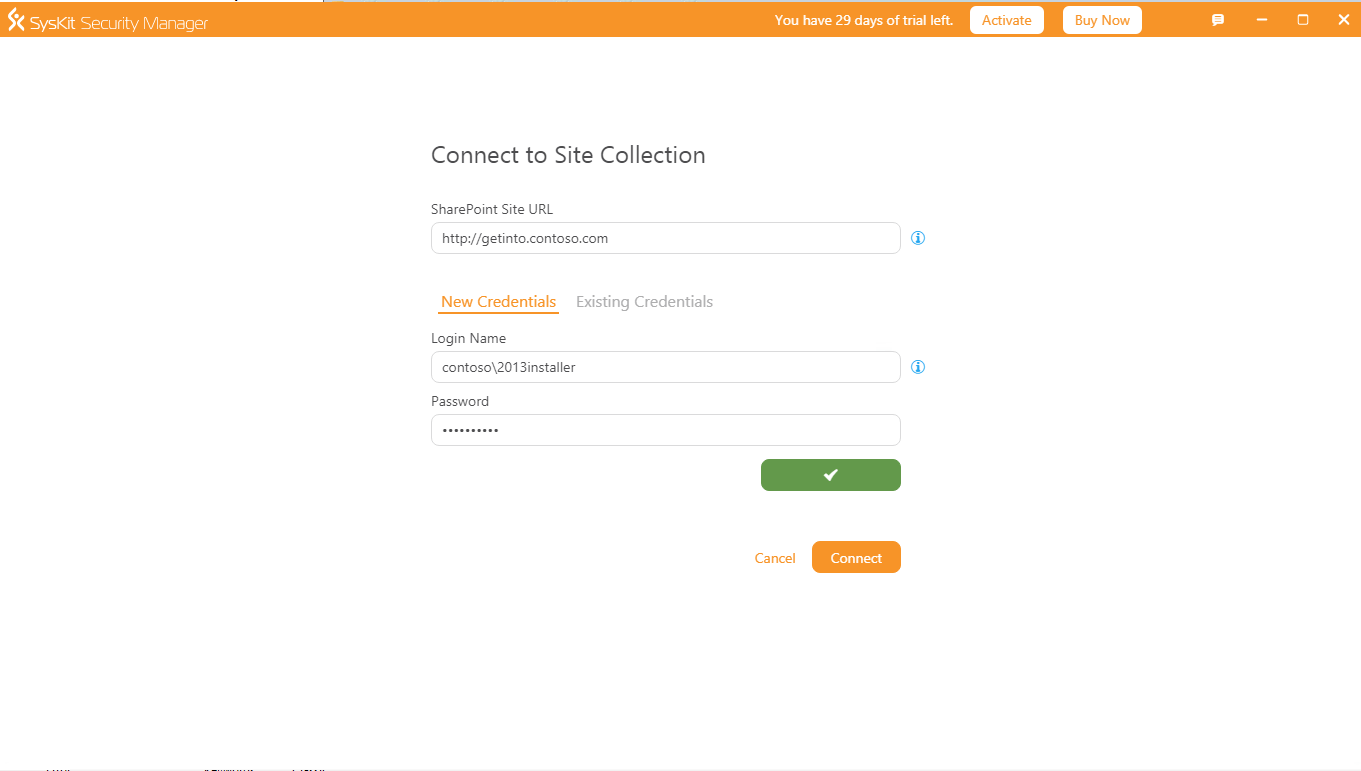
Test the connection. If it fails, make sure that you can resolve the site from the server you’re using to manage security. In other words, make sure you can open the site in the browser from the server. In my home lab, I had to add a hosts entry because my SQL server was not able to find the site without it. In a normal production environment you may need to open firewalls for port 80 or 443 between the monitoring server and the SharePoint server. The main point being that if the connect to Site collection is not working, the reason is more than likely that the site is not reachable from the server and resolution issues with DNS, or possible network devices, needs to be looked into.
After you can open the site in the internet explorer on the security manager server, using the same credentials for explorer that you’re using for the manager server, then you should see a green check box and should be able to connect.
 Click image to enlarge
After clicking on Connect, a few seconds elapsed, and then the main screen for security manager opens, showing the SharePoint Groups for the site collection that you connected into.
Inside Security Manager
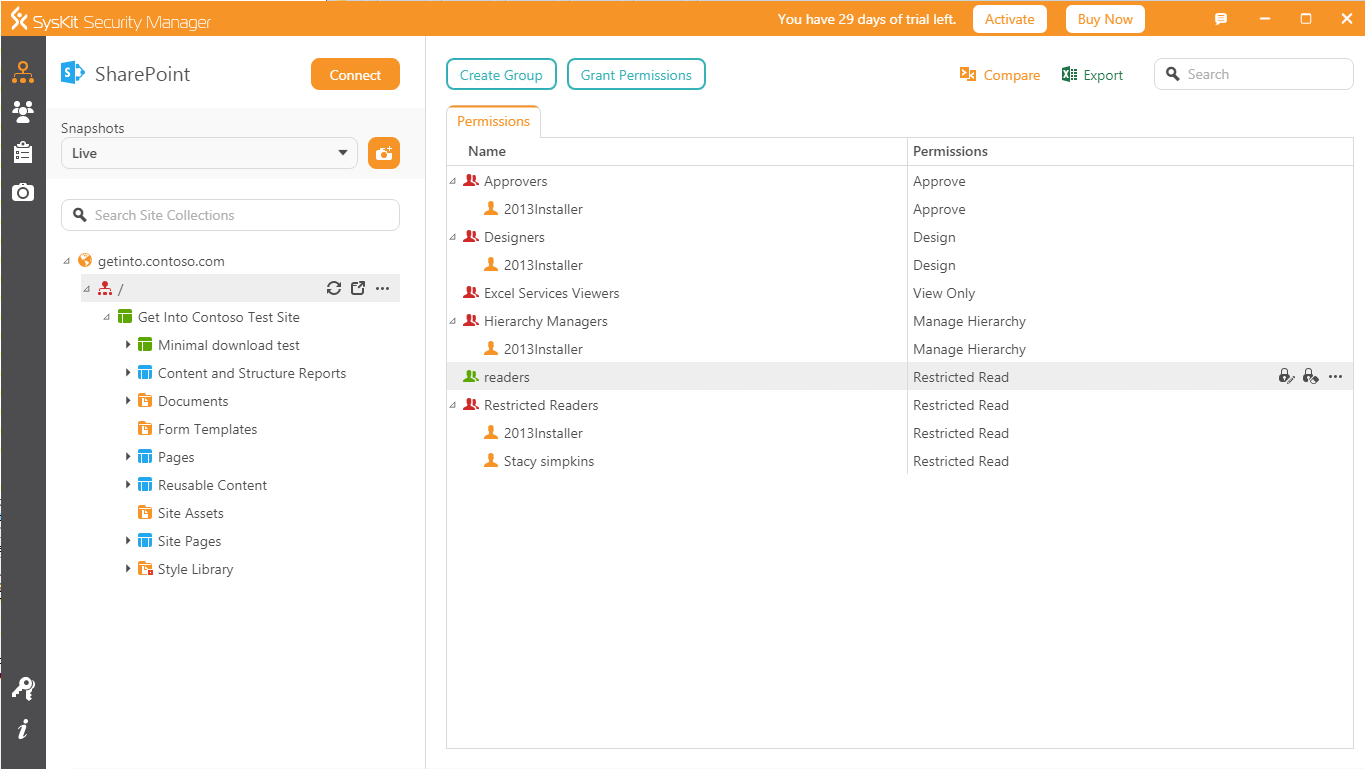 Click image to enlarge
From here you can totally manage permissions for the entire site collection, all of its sites, libraries, lists, documents, and items.
You can take a snapshot of the current permissions in the site collection, so that that snapshot can be used later to help you determine where to re-apply permissions.
After you’ve started to take a snapshot, you can track the progress in the bottom of the screen
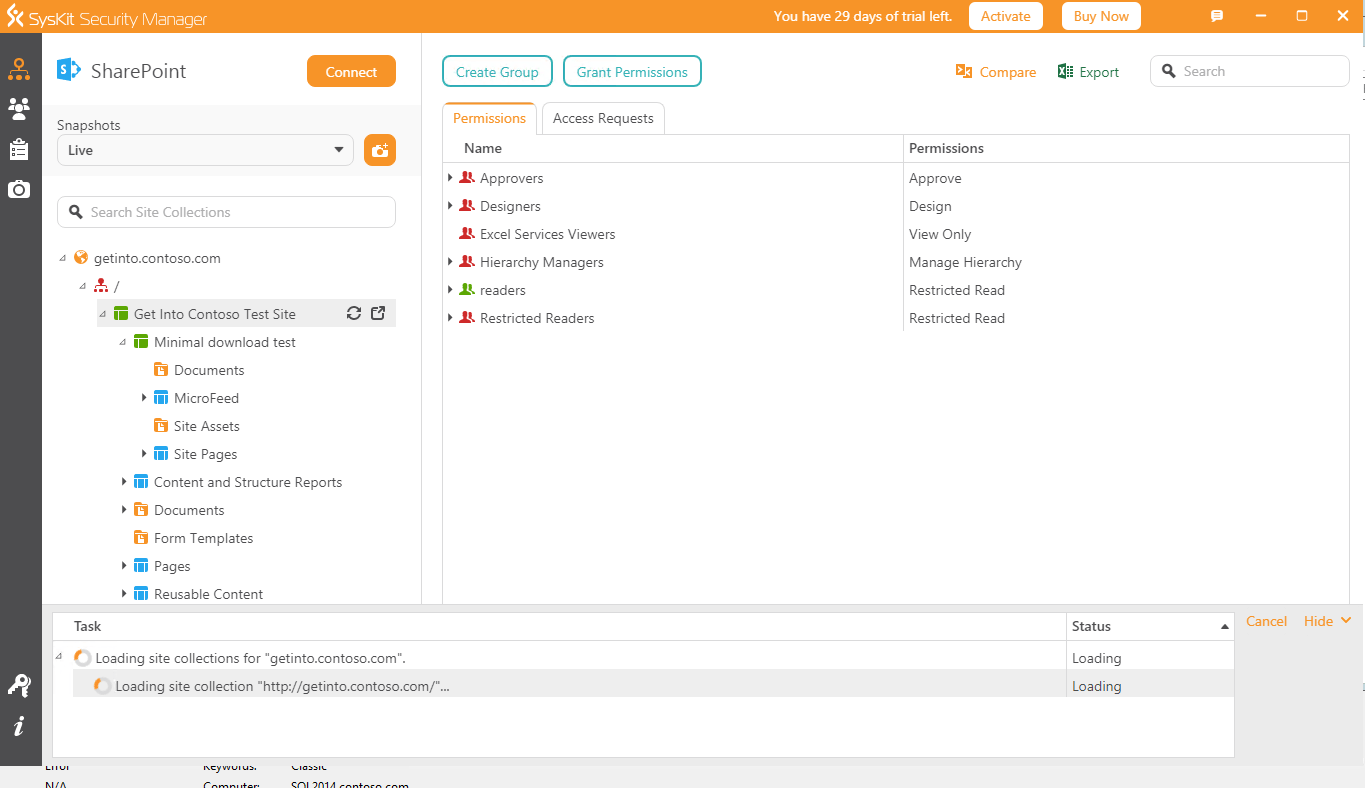 Click image to enlarge
and once the snapshot completes, SysKit Security Manager will let you know,
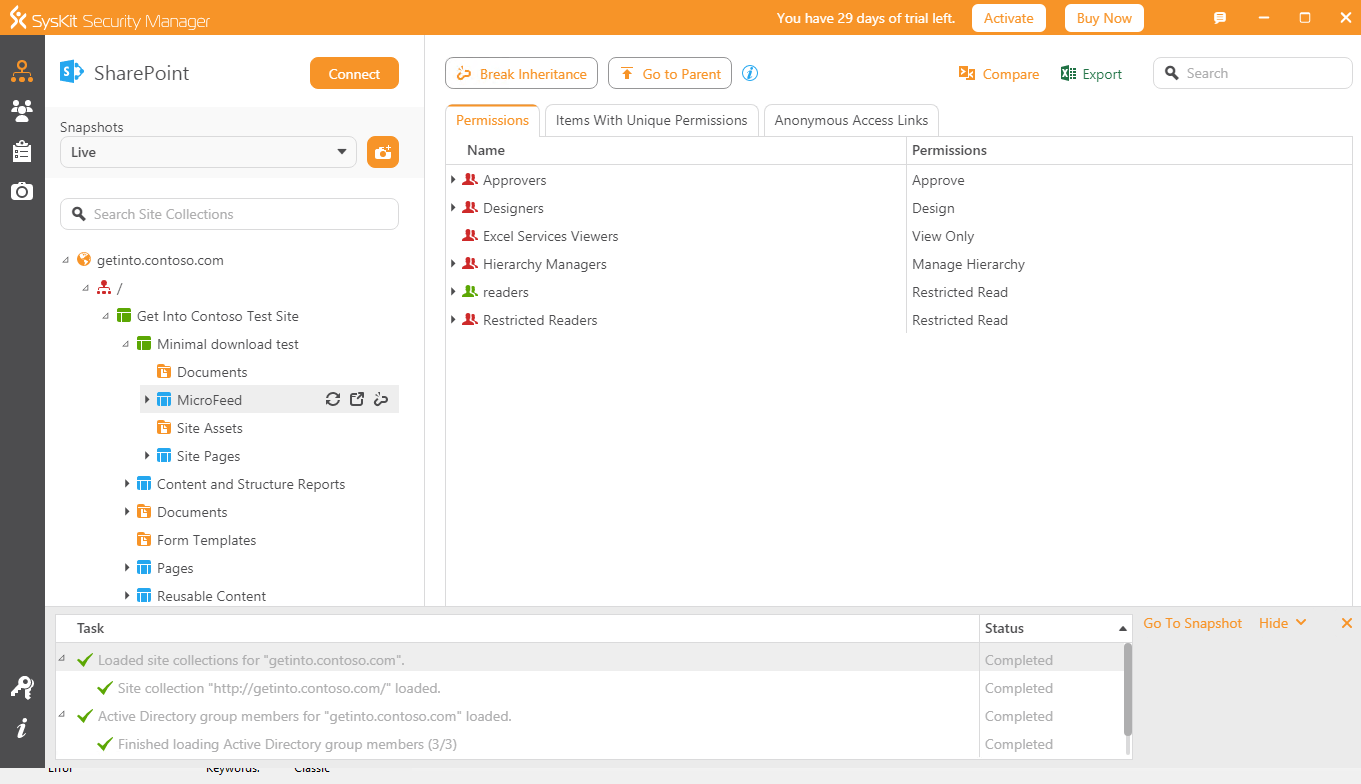 Click image to enlarge
There are also all sorts of report options. One in particular that I found nice was the Orphaned Users report
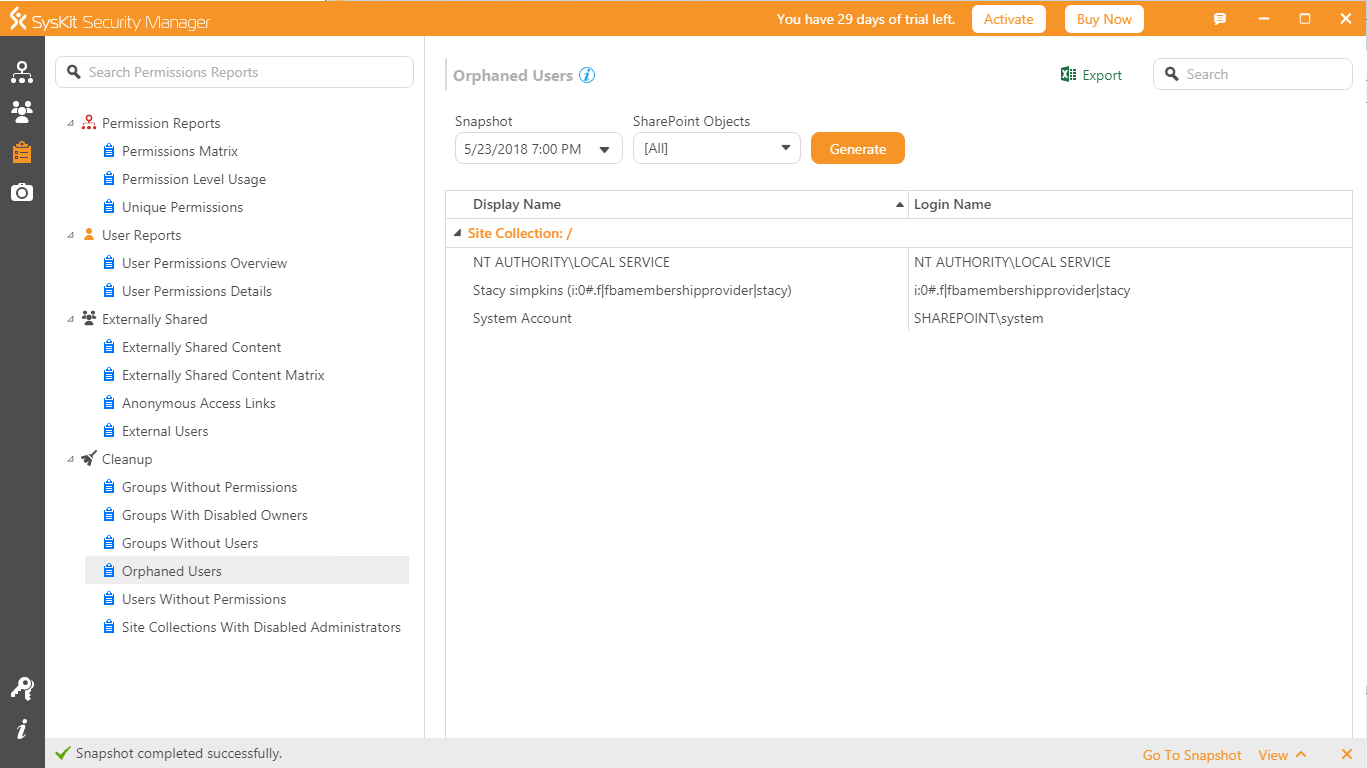 Click image to enlarge
This is where the tool is very sharp and it is important that the hands the tool is in have the knowledge to know what to do with the data. For example, the only orphaned account I need to worry about in the above screen shot is the one for the FBA user.
Summary
All in all I found this tool to be a really awesome way to manage permissions. You can approve access requests for site collections, create new users and groups, move users and groups around, break inheritance and re-inherit and run all sorts of reports on your site collection.

You must be logged in to post a comment.