Log onto each additional server that you wish to join into the farm
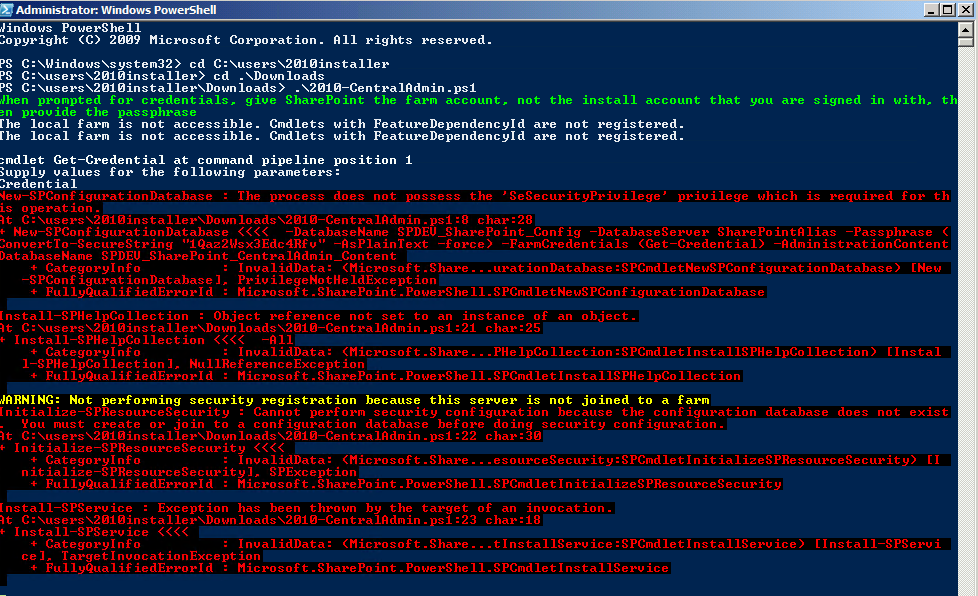
Open the ”SharePoint 2010 Management Shell” administratively (right-click and select “Run as administrator”). The shell will load with a message that the local farm is not accessible. This is expected as we have only installed the binaries.
Connect the server to the farm with the following command:
Connect-SPConfigurationDatabase -DatabaseName "SharePoint2010_Config" -DatabaseServer "SharePoint2010SQL" -Passphrase (ConvertTo-SecureString "1Qaz2Wsx" -AsPlaintext -Force)
Make sure to use the same database names and database server names.
1. Install the help files.
Install-SPHelpCollection -All
2. Secure the resources used by the server (files and registry).
Initialize-SPResourceSecurity
3. Install and provision the farm services.
Install-SPService
4. Install the features on the server.
Install-SPFeature –AllExistingFeatures
5. Install the application content.
Install-SPApplicationContent
Development farm Optional: Disable the loopback check. If this is a development install, outright disabling the check should be fine. For production environments, the loopback check should be left in place and BackConnectionHostNames should be used in its place. See KB 896861
New-ItemProperty HKLM:\System\CurrentControlSet\Control\Lsa -Name "DisableLoopbackCheck" -value "1" -PropertyType dword
6. Start the SharePoint Timer
Start-Service SPTimerV4