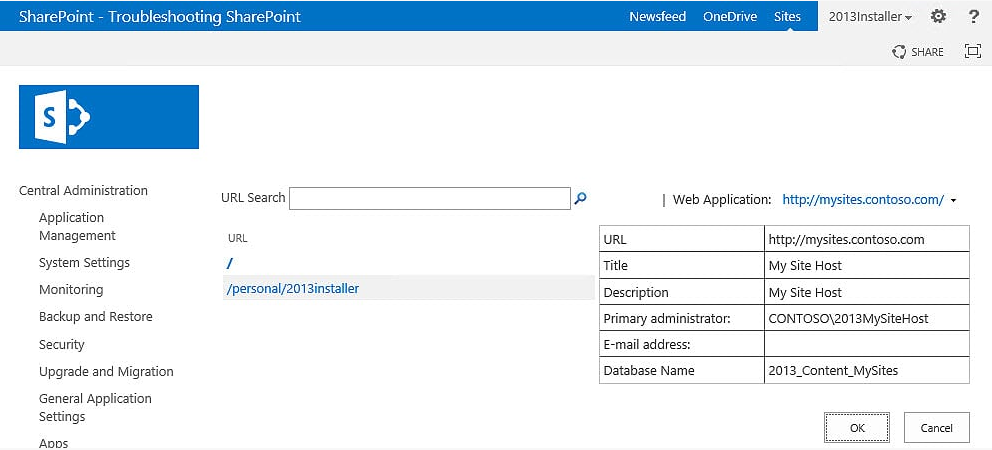
Here’s another blog post on how to create Host Named Site Collections.
NOTE THIS IS NOT THE BEST RECOMMENDED APPROACH BUT IT WORKS….So if you just want to create HNSC and not understand, then this post is for you. I am writing a better post that explains using the IP address or a SAN cert, this upcoming weekend, May 10, 2020 and will post a link here once it is done.
Here are a few reasons why you should use them over Path Based Site Collections
- Microsoft Recommends them as the preferred method to deploy sites in SharePoint 2013 – https://technet.microsoft.com/en-us/library/cc424952.aspx
- The product scales better with HNSC’s – take Office 365 for example, it uses multi-tenancy and HNSC’s in conjunction – https://blogs.msdn.microsoft.com/kaevans/2012/03/27/what-every-sharepoint-admin-needs-to-know-about-host-named-site-collections/
- HNSC’s require less resources – https://thesharepointfarm.com/2014/08/expense-application-pools/
How do you get going on HNSC’s?
Well that is a good question self and the answer is, use PowerShell.
Here’s a script I wrote that creates the HNSC Web application, content database for the site collection of the top site, and the top site itself. – https://anothersharepointblog.com/create-hnsc-web-application-and-top-site
The high level steps to create an HNSC are the following:
- Create a web application that will house the HNSC
- Along with creating the web application, create the database that will house the HNSC top site
- Create the top site
So, the first step of creating the web application, actually creates the database too. When you run the New-SPWebApplication cmdlet and give it the name of the database you want to house the top site, the cmdlet creates the database; but, it does not create the top site.
After you’ve created the web application, you run another command to create the top site.
Here are the variables for the cmdlet used to create the web application and content database, with a little bit of notation explaining what each variable is all about.
$Servers="2016APPSRCH","2016WFEDC"  # Names of servers in the farm, does not include SQL server
$applicationPool = "HNSC-ApplicationPool"  # Name that you want to see in IIS, inetmgr.exe, manager for the HNSC app pool
$ServiceAcct = "wingtip\2016SP_Site_AP"	# Name of the account that you want to use to run the IIS site and app pool
$WebApp = "SharePoint - HNSC" # Name of the Web application that you want to see in Manage Web application's in Central Admin

$webAppURL = "https://hnsc.wingtip.com" # URL of the web application, note it runs on port 443
$contentDB = "PROD_WSS_Content_HNSC" # Name of the content database that will house the web application's top site

Write-Host "`nCreating Database named: $contentDB"  # PowerShell's way of writing something ot the scr
After you’ve got the variables the way you want them, you run the line that starts with New-SPWebApplication and it creates the web app using SSL due to the -securesocketslayer parameter and this goes hand in hand with the $webAppURL variable being https and not http. If you’re using http for some reason in a business with SharePoint, then don’t use the -securesocketslayer parameter. This post assumes you’re following best practice and are using SSL\TLS for your sites.
Create the web app
#Creates the web application and top site, this is a one-time only action and this site is never used

#Web application creation
Write-Host "`nCreating Web Application named: $WebApp"
New-SPWebApplication -ApplicationPool $applicationPool -ApplicationPoolAccount $serviceAcct -Name $WebApp -URL $webAppURL -Port 443 –AuthenticationProvider (New-SPAuthenticationProvider) -databaseName $contentDB -securesocketslayer

Write-Host "`nWeb Application named: $WebApp is created"
Hopefully the above command is pretty straightforward; but, in case it is not. The variables are being pulled from the first part of the script and one thing to note is that if you are doing this for sharepoint 2010, you would use a slightly different command, although you could use the above for a claims based web application in SharePoint 2010, you may want to build out a classic based web app and in that case you would run these two lines
2010 classic web app
New-SPWebApplication -ApplicationPool $applicationPool -ApplicationPoolAccount $serviceAcct -Name $WebApp -URL $webAppURL -Port 443 -databaseName $contentDB -securesocketslayer
After you’ve ran the New-SPWebApplication cmdlet, you can look in central administration and see that manage web application shows the web app. You may even want to ouput that to your admin who is using your script to create the web application by including this line:
Write-Host “`nWeb Application named: $WebApp is created”
Then you might want the admin to know that the script is creating the top site, use this line:
Write-Host “`nCreating Top Site for Web Application named: $WebApp”
You need to create some variables for the creation of the site collection. Note: you really only need the primary site collection admin
Notice how the WevApp0URL is the same as the web application, this is because it is the top site. This site should never be used by users. I like to use the blank site template STS#1 when making the top site, but you could use whichever you wanted.
$primarySiteCollectionOwnerAcct = "wingtip\stacy"
$PrimarySCOwnerEmail = "stacy@wingtip.com"
$SecondaryOwnerAcct = "wingtip\2016sp_installer"
$SedondaryOwnerEmail = "2016sp_installer@wingtip.com"
$webApp0URL = "https://hnsc.wingtip.com"


#Top site creation

New-SPSITE -URL $webApp0URL -owneralias $primarySiteCollectionOwnerAcct -owneremail $PrimarySCOwnerEmail -SecondaryOwnerAlias $SecondaryOwnerAcct -SecondaryEmail $SecondaryOwnerEmail  -Template STS#1
The above line creates the Top Site collection. Don’t stop yet, you still have to make some site collections for business to use, REMEMBER, they cant use the top site!
First thing you need to do is have SharePoint create some content databases and mount them to the web application where the hnsc’s will run underneath. To do that run the following two lines:
$HNSC3DB = "PROD_WSS_Content_HR"
$webApp0URL = "https://hnsc.wingtip.com"

New-SPContentDatabase $HNSC3DB –WebApplication $webApp0URL
Make some site collections for your business
So let’s say you wanted to create a HNSC for the Human Resource department and HR users would use HR.wingtip.com to get to their new site, these are the lines of pwershell that you would use to do that.
$primarySiteCollectionOwnerAcct = "wingtip\admin"
$PrimarySCOwnerEmail = "admin@wingtip.com"
$HNSC3Name = "Human Resources"
$HNSC3URL = "https://hr.wingtip.com"
$HNSC3DB = "PROD_WSS_Content_HR"
$webApp0URL = "https://hnsc.wingtip.com"

New-SPSite -url $HNSC3URL  -Name $HNSC3Name -hostheaderwebapplication $WebApp0URL -ownerAlias $PrimarySiteCollectionOwnerAcct -owneremail $PrimarySCOwnerEmail -contentDatabase $HNSC3DB  -Template STS#0
All you would do for addtional HNSC’s that run under the hnsc web application is change these three lines:
$HNSC3Name = “Human Resources”
$HNSC3URL = “https://hr.wingtip.com”
$HNSC3DB = “PROD_WSS_Content_HR”
to something like this
$HNSC3Name = “Strategic Programs”
$HNSC3URL = “https://strategicPrograms.wingtip.com”
$HNSC3DB = “PROD_WSS_Content_StrategicPrograms”
Note: make sure to create the PROD_WSS_Content_StrategicPrograms database first, else the New-SPSite will puke on itself and say it does not have a database named PROD_WSS_Content_StrategicPrograms.
I have written two scripts to help you with this:
1. Create the web application and top site – http://anothersharepointblog.com/create-hnsc-web-application-and-top-site
2. Create the HNSC, e.g. Strategic Programs – http://anothersharepointblog.com/create-a-hnsc-site-collection
There are plenty more good powershell goodies in my new book TroubleShooting SharePoint available on Amazon and Apress.com.
Finally, you need to create the bindings in IIS and make sure you have either disableloopbackcheck or backconnectionhostnames set in registry. Both of my books show you how to set either of those two registry settings as you dont need to use both, and then how to make bindings in IIS.
Or, you could use these few lines of code set the bindings in all the servers that you listed in your farm in the $Servers variable above
$fqdn=$WebAppUrl -ireplace "(http://|https://)",""

#Adds the binding in IIS

function Add-HostHeader($a,$b) #$SPWebebAppName,$fqdn
{
    Import-Module WebAdministration

    #Adds https binding with host header on a given web site
    # PowerShell v2 doesn't support SSL Hostheaders.  Using appcmd instead.
    $AllArgs=@("set","site","$a","/+bindings.[protocol='https',bindingInformation='*:443:$b']")
    &"C:\Windows\System32\inetsrv\appcmd.exe" $AllArgs


} #End function


#Adds https host header to $SPWebAppName on all servers (SharePoint does not add automatcially)
Write-Host "`nAdding HTTPS host header"
Invoke-Command -ComputerName $Servers -ScriptBlock ${function:Add-HostHeader} -ArgumentList $WebApp,$fqdn
Write-Host "`tHTTPS host header successfullly added on $servers"
Hope this helped someone and please feel free to reach out to me at Stacy@anothersharepointblog.com if you have any questions or comments about this post.


You must be logged in to post a comment.